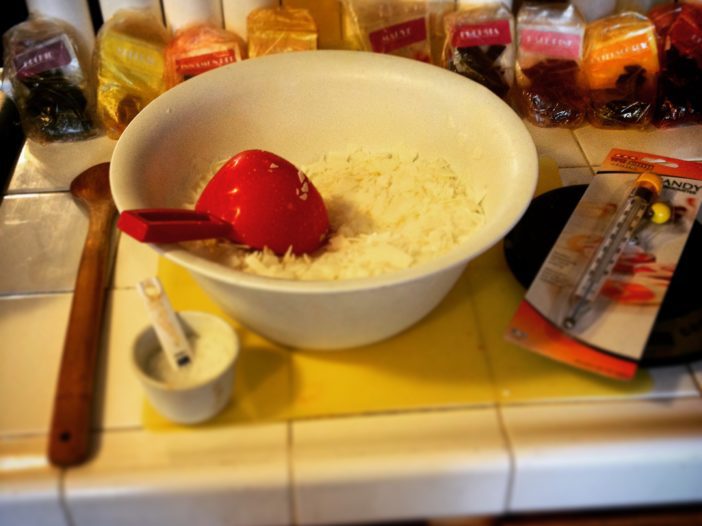
Do you think that making candles is difficult?
It’s easier than you think!
People ask me all of the time if making candles is hard. My answer to them is no. I started my candle making adventures as a hobby. I spent tons of money on those big named candles over the years and found that I was constantly going through them, not to mention the scent would never last until the very end. In addition, a lot of the jar candles I would buy would burn straight down and not burn all the way through. There would be tons of wax left over. So after my last candle binge, my husband surprised me when I came home from work with a bunch of candle making supplies. He figured it would save him some money and I can make my own whenever I wanted. Here is where the adventure began. I worked hard over the last 3 years to get my formulations right, everything from the wicks I use to the fragrance and wax. It was a lot of trial and error and tons of research. In this article, I am going to give you step by step on how to make your own scented candles. It’s fun to learn and makes a great family adventure.
There are a few ways of making candles. In the microwave and over the stove. Temperature control is a huge factor in making candles. We will get into all of the details later in the article. This is for informational purposes and I am not going to disclose the names of the products I use. You can pick everything up at a local craft store they have an entire aisle dedicated to candle making.
Here is a list of items you will need:
1) Double Boiler
2) Candy Thermometer
3) Soy Wax (usually comes by the pound)
4) Wicks (find the wicks that go with tea light candles, it should say on the package)
5) Fragrance (make sure it’s made for candle making, you can use essential oils that you can pick up at Whole Foods or a store similar)
6) Color Tiles or Liquid Dye (be careful when using the liquid, a little goes a long way)
7) Stir Stick
8) Scale
9) Additives (typically a UV protector, this is optional)
10) Tea Light cups
11) Plastic cutting mat or tin foil (this is to rest your stir stick)


Step 1: Set up and Measure
Set up your tea light cups and wicks that you are going to pour into. Start your double boiler until the water boils, then turn down the heat to low, medium-low. Measure the amount of wax you want to use. ( We place the pour pot directly on the scale, tare it out, and add the wax) If you use the whole pound it should yield about 28 tea lights. Place the pour pot into the double boiler and place the candy thermometer on the inside of the pour pot; make sure to keep it off the bottom of the pot.

Step 2: Add color and additive
When the wax reaches 160 degrees add your color. If you are using the color tiles you will need 3 tiles per pound; if you are using the liquid dye, only about 2 drops. If you are using a UV Protector add it at 160 also. You will only need about 1/2 tsp of this per pound. Adjust your heat if you need. You don’t want the heat too hot or you will scald the wax.

Step 3: Remove from Heat
Allow the wax to come up to 180 degrees. Stir the wax to make sure that all of the color and additives are combined with the wax. Remove from heat.
Step 4: Add Fragrance
When the wax has cooled to 150-160 add your fragrance. If you are using a candle safe fragrance oil you will use about 1 – 2 oz of scent per pound. If you are using essential oils you will only need 4-5 drops total. Stir in the fragrance to combine with the wax, color, and additive. Continue to stir every 5 minutes or so. This will help keep everything circulating and will reduce the build up around the edges. This also helps the wax to cool evenly.

Step 5: Pour
Once you wax has cooled to 125 degrees it’s time to pour your candles. Carefully pour the wax into the cups, make sure your wicks are straight after you pour your candles. And you are done! It’s that simple.

Step 6: Burn
Once your candles are poured, it will take 24 hours for the candles to completely cure. Once they have fully dried, make sure you clip the wick to 1/4″ place your tea light in a candle holder, light it and enjoy. Your candle should burn and throw its scent for 6-8 hours.

In conclusion, every candle wax will be different to work with, some other wax’s like paraffin and bees wax burn at hotter temperatures. Which means you will need to make sure that you follow those instructions and do your homework on which kinds of wicks to use with what type of wax. Candle making is a fun hobby for anyone who loves candles. Try it for yourself!

